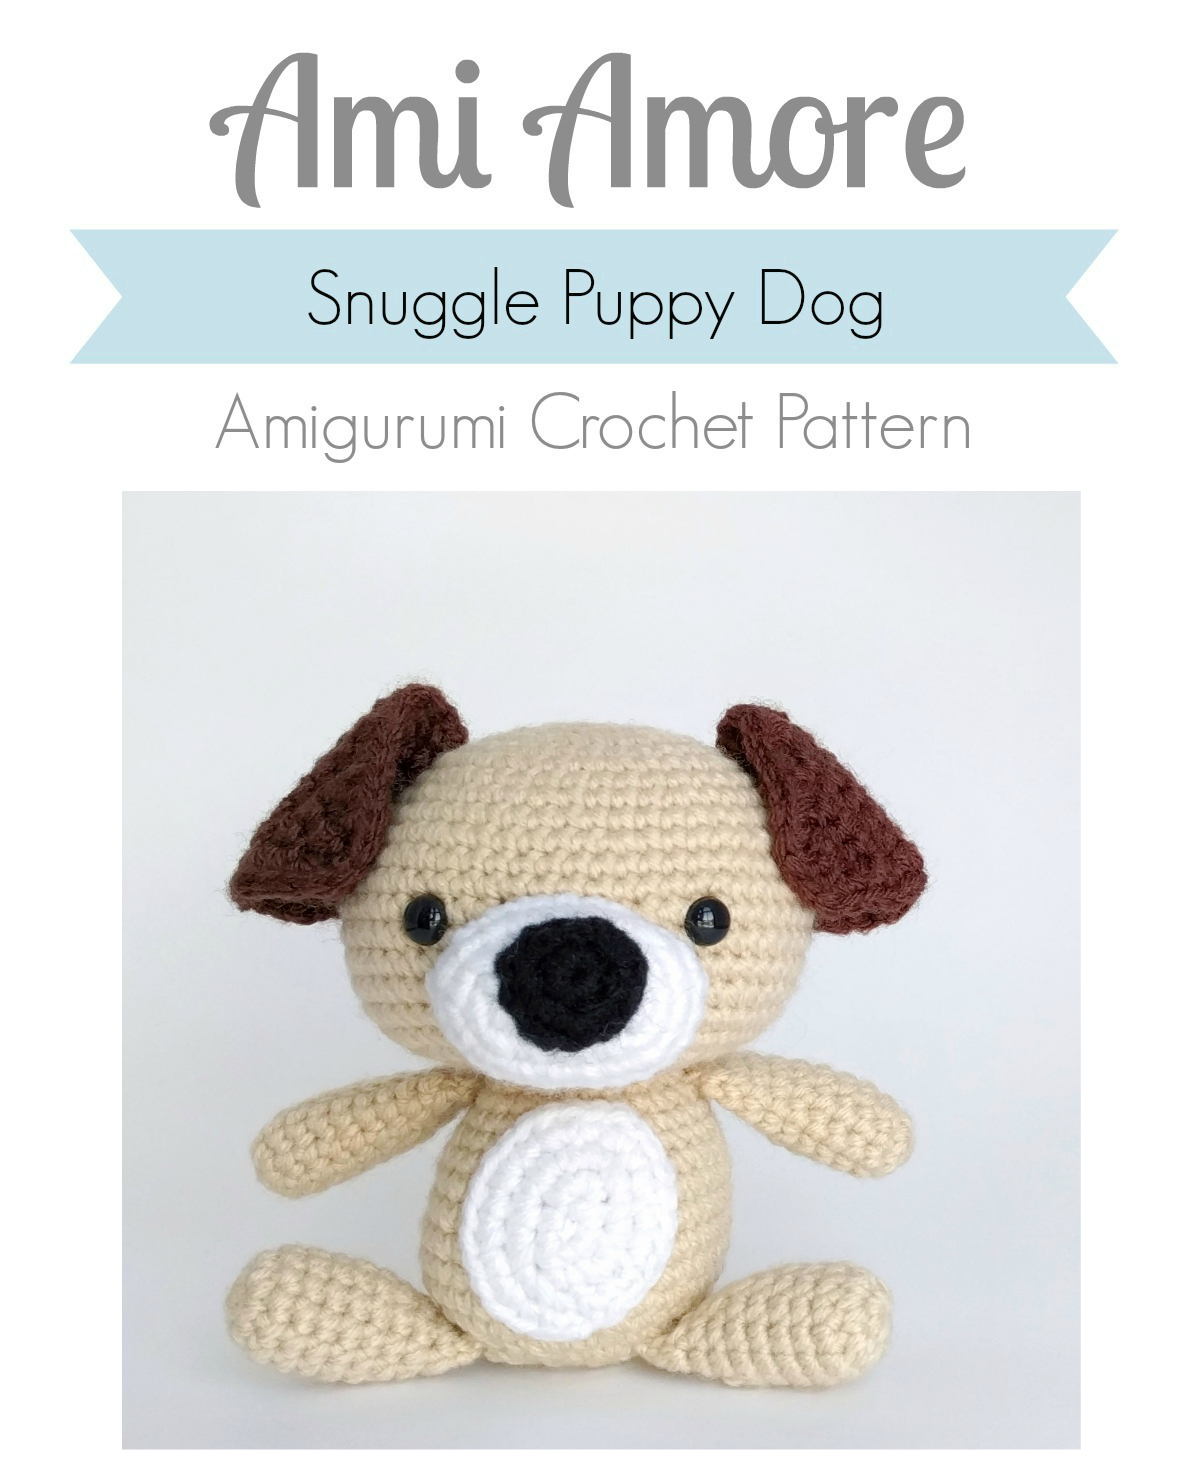

Like many people, I love to follow cute characters on Instagram and Pusheen is a long time favorite. This week this picture was in my feed and when I saw it, I fell in love! How freakin' adorable, right!? I just had to try to make my own Candy Corn Pusheen and I decided that if it was a success, I'd share my pattern with you! And here she is!
The pattern was a success so, as promised, here's the FREE pattern! This pattern took me about 2 hrs to create, a fast crocheter might only need an hour to make this sweetie!
Crochet Candy Corn Pusheen Pattern
Difficulty: ❤❤♡♡ Advanced Beginner
This is a wonderful beginner's project but it does use a few advanced techniques: The magic ring, invisible decrease and a slip stitch join of the two halves. Planet June has a wonderful tutorial of how to do the invisible decrease and the magic ring.

Materials You'll Need:
• Worsted weight yarn - I used White, Yellow and Orange
• Crochet hook - Size E (3.5 mm)
• Embroidery thread - Black
• 2 - 6 mm safety eyes
• Key chain or lanyard
• Stuffing - Polyfil
• Yarn or Darning Needle
• Scissors
Stitch Pattern Key
Rnd - Round
MR - Magic Ring (magic circle, magic loop)
st - Stitch
ch - Chain
sc - Single Crochet
sl st - Slip Stitch
inc - Increase (two sc in one)
dec - Decrease (Invisible Decrease recommended)
[##] - Number of stitches in Round
( ) x 6 - Repeat action within ( ) 6 times
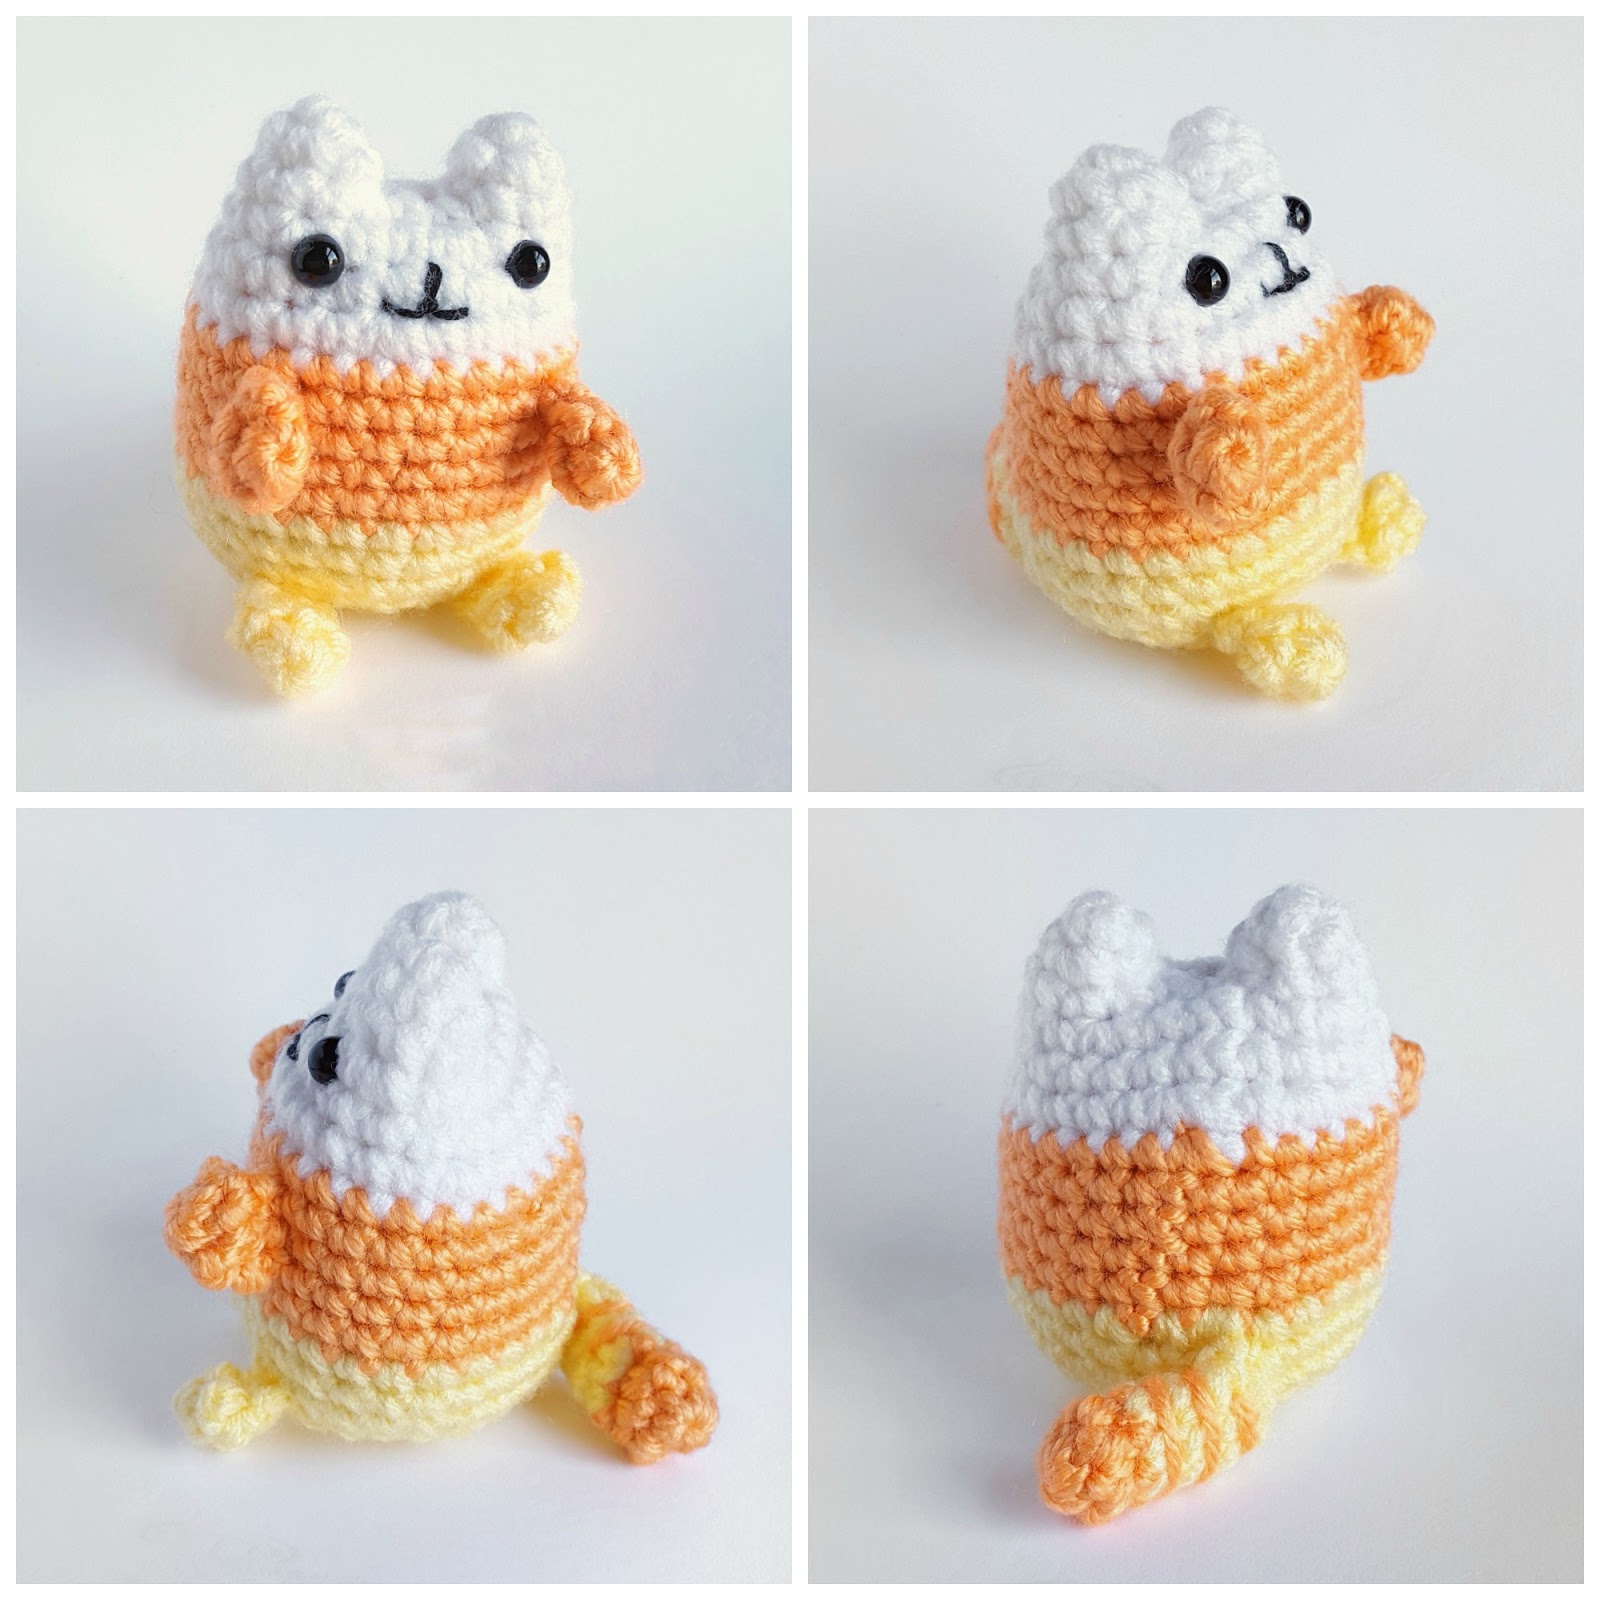
Notes: Finished Size: 2.5" x 2" (6 cm x 5 cm) ❤ I use the joined-round method of amigurumi, most people do not. This pattern works for both spiral and joined rounds, use the method you are most comfortable with.
Candy Corn Pusheen
BODYStarting at the top with her ears: Make 2, tie off EAR #1 but do not tie off EAR #2.
Start with white yarn:
Rnd 1: In a MR, sc 4 [4]
Rnd 2: (Inc then sc) x 2 [6]
Ch 2 and sl st EARS together, as shown below:

Rnd 4: (sc 2 then inc) x 5, sc in last st. [21]
Rnd 5: Sc in each st [21]
Rnd 6: (Inc then sc 3) x 5, inc in last st [27]
Insert two 6 mm eyes between Rnds 4 & 5, 6 holes apart.
Switch to Orange yarn:
Rnds 7 - 11: (5 Rnds) Sc in each st [27]
Switch to Yellow yarn:
Rnds 12 -14: (3 Rnds) Sc in each st [27]
Stitch on a mouth with black embroidery thread. Also, gently stretch out the orange band to make the body look round and full.

Rnd 16: (dec then sc 2) x 5, dec the last 2 sts together [16]
Start stuffing the body.
Rnd 17: Dec around eight times. Finish stuffing and tie off hole. The body should sit up-right.
The Finished Body:

FEET - Make 4: 2 Orange, 2 Yellow
Rnd 1: In a MR, sc 5 [5]
Rnd 2: Sc in each st [5]
Fold foot in half and sc 2 times, with both halves together, across the top to close the piece as shown:

Sew the orange FEET onto Rnds 8-10. Sew the yellow FEET onto Rnds 14-15.

Start with Orange yarn:
Rnd 1: In a MR, sc 6 [6]
Rnd 2: Sc in each st [6]
Tie off and leave a tail for sewing orange stripes on the yellow part of the tail.
Switch to Yellow yarn:
Rnd 3-5: (3 Rnds) Sc in each st [6]
Fold tail in half and sc 3 times, with both halves together, across the top to close the piece as shown above for the feet. With the extra orange yarn tail, sew a few stripes on the yellow part of tail as shown below.


That's it, friends! I hope you enjoyed this mini pattern and tutorial! If you loved this design and would like to see more of my work and support Ami Amore, please visit my Etsy shop! You can also find my designs on Ravelry and Amigurumipatterns.net.
Want to stay in the loop on new designs and promotions? Follow me on Instagram or Facebook!
If you have any questions, send me an email and I'll do my best to reply quickly. Also, if you comment below, your comment won't appear until it's approved. This blog receives a lot of spam and I do my best to keep Ami Amore clean and happy :)
Until next time,